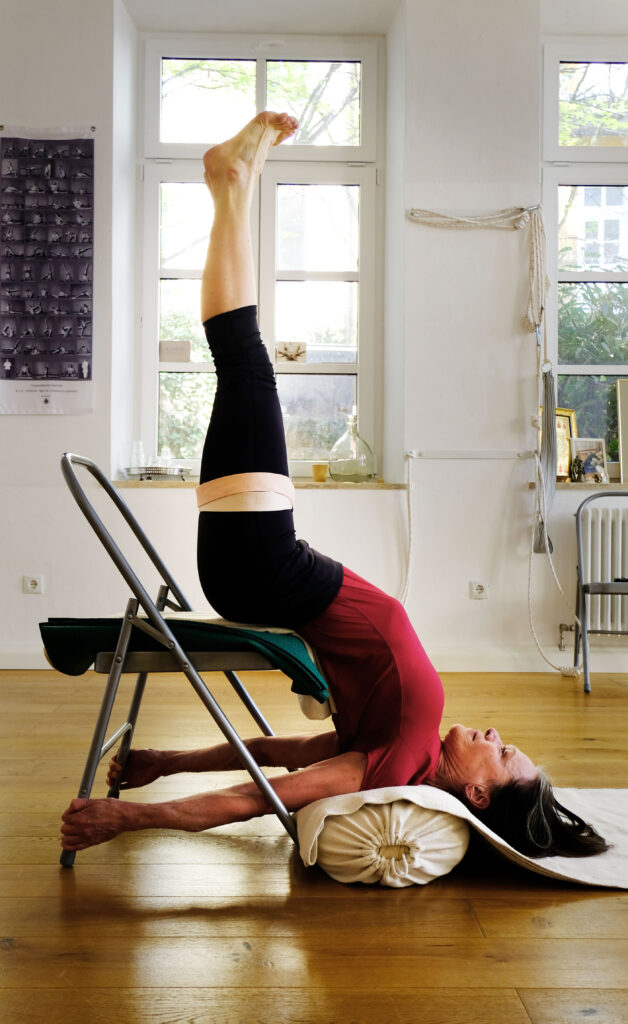
The mental and physical benefits of yoga have been enjoyed recreationally for thousands of years. Many studios offer a wide variety of yoga practices like power yoga, prenatal yoga, PiYo, aerial yoga, and even goat yoga! Individualized plans can provide unique benefits that relax and rejuvenate the yogi. Regardless of the type of exercise, a key focus is relaxation and meditation, which the surrounding environment should reflect.
There may be several reasons why you’re hesitant to make it to your nearest yoga studio for a class. They can be expensive, your schedule may not align with the studio schedule, and group classes can be intimidating. Luckily, you can find your Zen in the comfort of your own home. All you need to do is find some extra space and follow the tips below, and you’ll be on your way to creating your very own private DIY yoga studio.

Step 1: Choose a Spot
The good thing about yoga is that it doesn’t take up much space. While it would be great to have an entire room dedicated to being your yoga studio, not everyone has the extra space for that. A large empty closet or a cleared out corner is suitable if you are lacking an open garage or bedroom. As long as you feel comfortable stretching and doing all your yoga positions in the space you choose, then there is no “right” or “wrong” answer. Once you designate a space, you can start gathering materials to turn it into a studio!
Step 2: Soundproof the Room
Nothing disrupts meditation like a bunch of noise. Whether you live in a city with lots of road noise or your studio is a sanctuary from your boisterous children, you deserve to have a space free of sound. Depending on where you choose to create your DIY yoga studio, soundproofing will look different for everyone, but some options include acoustic foam and sound barriers which you can browse on our website.
Step 3: Check for Appropriate Flooring
Yoga studio flooring should not be too hard like cement and not too soft like carpet. You may need to make some adjustments if you place your studio in the garage or carpeted bedroom. The cushioning and shock absorption of materials like bamboo, wood, cork, and fitness mats are best for yoga studio flooring. Since yoga is relatively confined, you could purchase gym rubber or a neoprene pad to place over the concrete instead of installing new flooring altogether.
Step 4: Accessorize Accordingly
Your yoga studio should feel like a sanctuary where you can escape daily chaos. The small details you choose, from decorations to lighting, can make a massive difference in the mood of your studio. Starting with the paint, you will want to choose a calming color that creates a relaxing aura. Colors like white and shades of blue or green are psychologically proven to produce calming effects. Incorporating some mood lighting is another excellent way to contribute to the relaxing vibes that you want to receive from your DIY yoga studio. Things like warm-lighted lamps, candles, and a little natural light, can make a big difference. Additional decorations should be kept to a minimum to reduce clutter, which can cause stress. Still, some nice options to spruce up your studio include plants, which connect you to nature, and incense or candles, which help add aromatherapy to your practice.
Creating your DIY yoga studio doesn’t have to be time-consuming or expensive. The steps above are a loose guide you can follow, but the simplicity of yoga makes it an exercise that can be done anytime and anywhere. You can get the most relaxation out of your yoga practices by customizing your own yoga studio to your specifications!
Have questions about the best product for a Yoga room or any other foam needs? Do not hesitate to Contact Us today!

